
Most fence problems start before digging.
If we want to avoid fines, delays, or a fence in the wrong spot, we need to check 4 things first: the property line, permit and setback rules, HOA approval, and utility locates through 811.
Here’s the short version.
- Confirm the lot line first, not by guesswork, but with a survey, corner pins, and plat records
- Check permit rules with the city or county, since many places require permits for fences over 6 feet in backyards or 4 feet in front yards
- Verify setbacks and corner visibility limits, especially on corner lots, near sidewalks, and by streets
- Get HOA approval in writing, because review can take 2 to 6 weeks
- Call 811 at least 2 business days before digging, since post holes often go 24 to 48 inches deep
- Match the fence layout to the site, whether that means surface-mount posts, rackable panels, or stair-step sections
The big takeaway?
Do not choose a fencing system or order materials until the legal line, local rules, approvals, and utility marks are all checked.
A missed permit can lead to $100 to $1,000+ in fines, and a bad layout can mean moving posts after the job starts.
In other words, we should treat the fence plan like a checklist, not a guess.
That’s the path this article walks through.
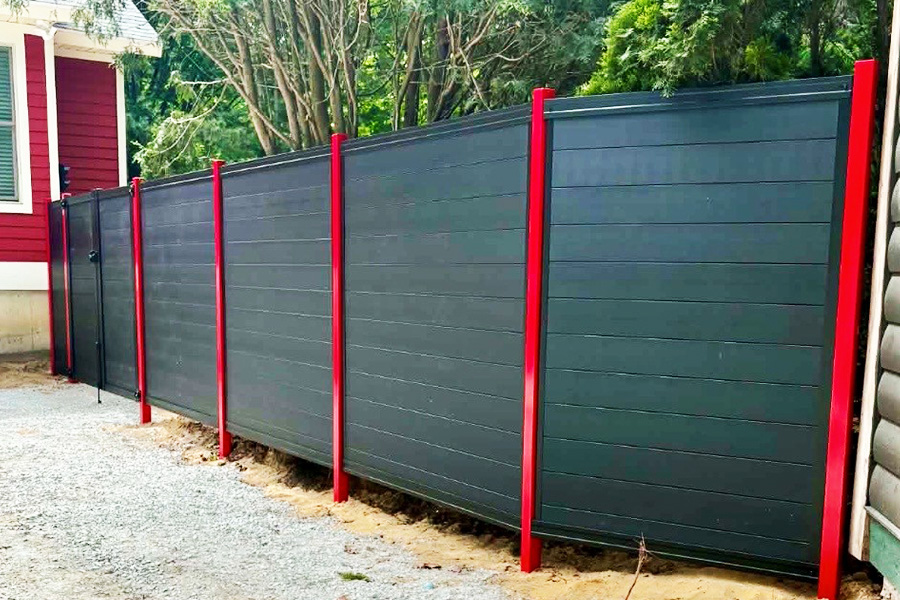
Residential Front Yard Fence – Standards and Permit Requirement
sbb-itb-908b3eb
1. Confirm the property line before placing a single post
Confirm the property line before you mark a single post.
A few inches can spark a dispute, or force you to move the fence later.
Old fence lines and landscaping are poor boundary markers.
Use a survey, corner pins, and lot records instead of guessing
A licensed land surveyor is the only professional who can definitively establish where your lot ends and your neighbor’s begins.
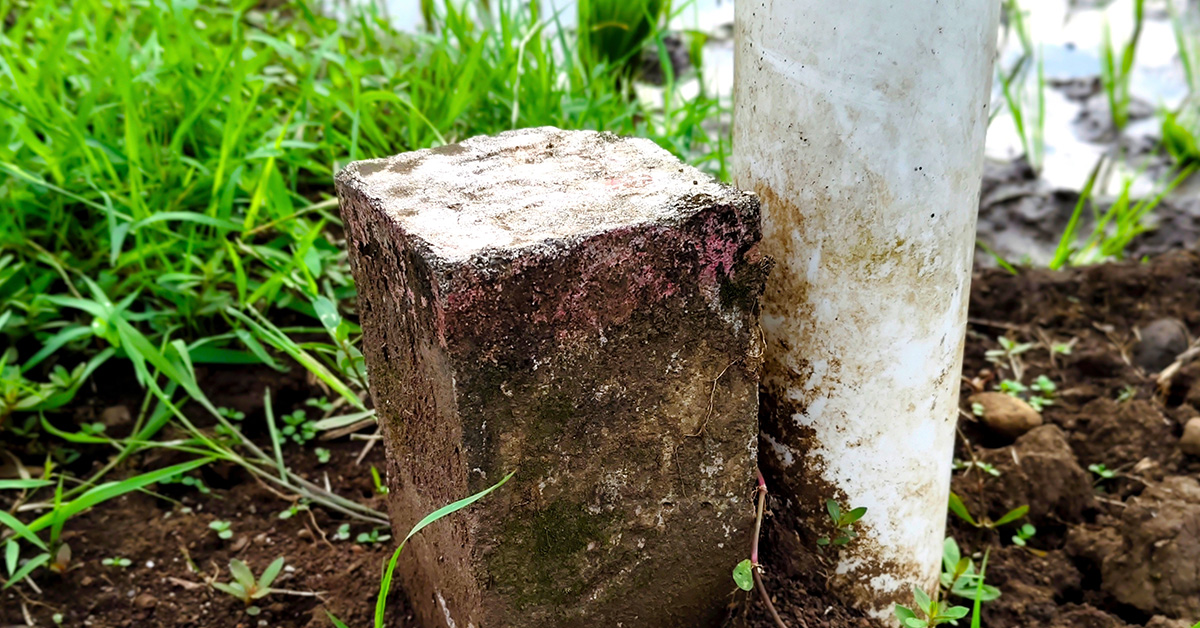
Surveyors place metal corner pins at the corners of your lot.
Check those pins against your plat map, the recorded map that shows lot lines, easements, and rights-of-way.
If you don’t have a recent survey, your county clerk’s office or an online property portal can provide recorded plat maps and easement details.
Place the fence 2 to 6 inches inside your property line.
After you mark the lot line, look for any corner, alley, or easement limits that could change post placement.
Check corner lots, alleys, and easements before marking post locations
Lot type matters.
Corner lots, alley-adjacent properties, and lots with recorded easements can all come with extra rules that affect where posts can go.
Utility easements along rear property lines are typically 5 to 15 feet wide, and side-line easements run 5 to 10 feet.
You may build in an easement, but utilities can remove the fence for access.
Drainage easements may require a 2- to 4-inch bottom gap.
Corner lots bring one more item to check, the visibility triangle.
In that restricted zone near the intersection, fence height is usually limited to 30 to 36 inches within 20 to 35 feet of the corner so drivers can see pedestrians and cross traffic.
Once the boundary is marked, check permit and setback rules before you set posts.
2. Check local fence permit and setback rules
Once your property line is marked, the next step is checking your city or county fence permit and setback rules.
Start with your city building department or county permit portal.
If your property sits in an unincorporated area, the county usually handles permits.
You can also look up your local zoning code online to check height limits and setback distances before you call.
Permit triggers, height limits, and inspection steps
In most U.S. cities, you’ll need a permit for a backyard fence taller than 6 feet or a front-yard fence over 4 feet.
Pool barriers, masonry walls, and corner-lot fences often need permits too.
Permit fees usually fall between $25 and $150 for a standard residential fence.
In big metro areas like New York City or Los Angeles, that can jump to $200 to $400+.
Approval often takes 1 to 7 business days.
Before you lock in your plan, check maximum fence height.
Most permits call for at least one inspection.
A common setup is one inspection before concrete goes in, then another at final sign-off.
The hard part is the small stuff.
A fence can fail inspection if post holes aren’t deep enough to go below the frost line, or if the fence lands inside a utility easement.
Some places also require the finished side outward, facing the neighbor or the street.
Check that before you buy materials.
Setback rules at sidewalks, streets, and corners
Now put those rules on the exact fence line on your lot.
In other words, a fence that looks fine on paper may still need to move a few feet once you account for sidewalks, corners, or street-facing side yards.
Use this table as a quick guide, then verify the exact rules with your local office.
| Location | Typical Height Limit | Typical Setback |
|---|---|---|
| Front Yard | 3-4 feet | 5-15 feet from street right-of-way |
| Side Yard (Interior) | 6 feet | 0-6 inches from property line |
| Side Yard (Street-facing) | 4-6 feet | 1-3 feet from sidewalk or curb |
| Rear Yard | 6-8 feet | 0-18 inches from property line |
| Corner Lot (Sight Triangle) | 30-36 inches | 15-35 feet from the corner intersection |
| Pool Enclosure | 4 feet (minimum) | Varies; must meet safety barrier codes |
Also check clearances around hydrants, poles, and utility boxes.
Next: HOA approval and utility locates before you dig.

3. Get HOA approval and call for utility locates before you dig
After you finish the permit and property-line checks, take care of HOA approval and utility locates before you set a work date.
These two steps slow down a lot of fence jobs.
They take time, and once you’ve promised a start date, you can’t force either one to move faster.
Submit HOA design details for height, color, and materials
Read both the CC&Rs and the Architectural Guidelines before you lock in the design.
The CC&Rs set the rules.
The guidelines usually spell out the approved colors, materials, height limits, and whether the fence has to look the same on both sides.
When you send your plan to the Architectural Review Board, or ARB, include the details they’ll need to make a call:
- A scaled site plan that shows your property boundaries and the exact fence path
- The proposed height for each fence section
- A description of the material and style
- The exact color name or color code from the HOA’s approved palette
If the board asks for more, add product photos, spec sheets, or assembly videos too.
ARB review cycles often take 2 to 6 weeks.
So, don’t book an install crew until you have written approval in hand.
FenceTrac privacy systems use a steel frame and a finished-on-both-sides design.
That can make color and texture matching easier when you need to stay within an HOA-approved palette.
For a closer look at the limits HOAs often set, see HOA fence rules.
While the board reviews your plan, move to the next step and mark the line for utility locates.
Mark the fence line and request utility locates at least 2 full business days ahead
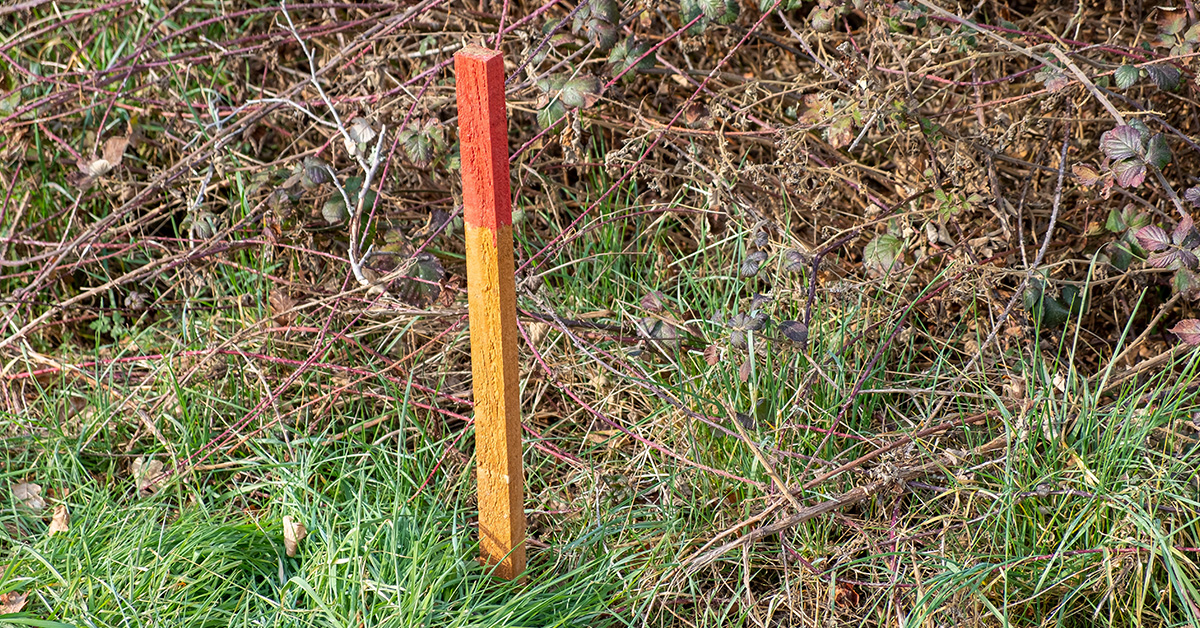
While HOA review is still pending, mark the proposed fence line on the ground with white marking paint or flags.
Then call 811 at least 2 full business days before you dig.
It’s free.
Utility crews will mark gas, electric, water, sewer, and communications lines that run along the fence path.
Fence post holes are often 24 to 48 inches deep, which means they can easily reach the zone where buried lines sit.
But here’s the catch.
811 does not cover private lines, such as irrigation, landscape lighting feeds, or backyard propane lines.
For those, you’ll need a separate private locating service.
If a marked utility sits right where a post needs to go, you usually have two workable choices: shift the post so it bridges the utility, or use a surface-mount base plate at that spot.
"Locate marks identify the approximate location of buried lines – not the exact depth." – National Fence Authority
That matters most when you’re hand-digging within 18 to 24 inches of a marked line.
Even if your permit and HOA review went smoothly, you may still need small layout changes once the flags hit the ground.

4. Match the fence system to slopes, concrete, and tight setbacks
Once approvals and utility locates are done, match the fence system to the site, whether that means concrete, a slope, or a tight setback.
With the paperwork out of the way, now we fit the fence to the lot.
Use surface-mount base plates where digging is limited
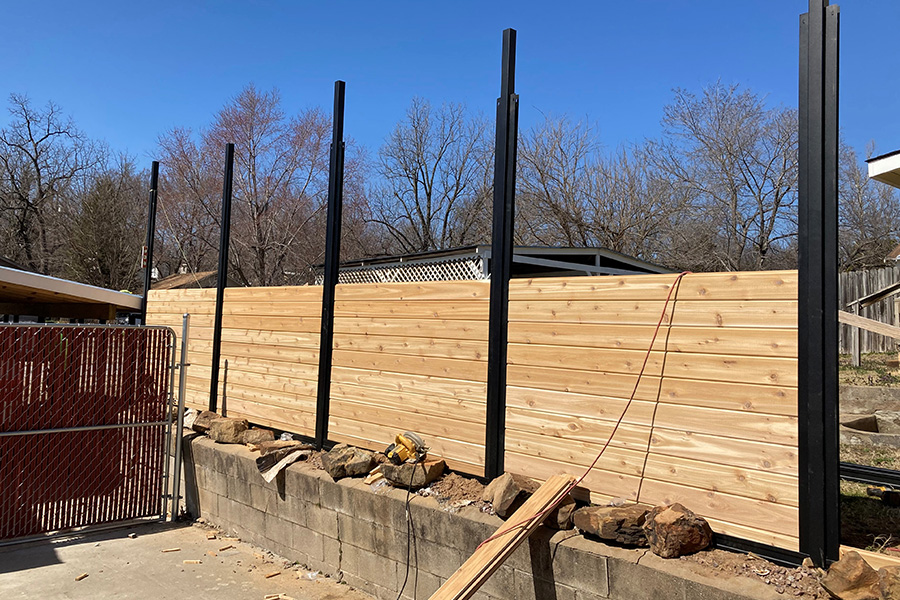
If your fence line runs across an existing concrete patio, a retaining wall, or an area blocked by a utility easement or tight setback, surface-mount base plates can work in place of in-ground footings.
Bolt the plate to sound concrete, free of major cracks or flaking.
Use shims for minor uneven spots, and get an engineering check for 8-foot fences or sites with high wind.
If the issue is grade, not concrete, rackable panels are the better fit.
Use rackable panels to follow a sloped yard without large gaps
A sloped yard creates a simple problem.
If the panels stay level, the ground drops away and leaves a growing triangular gap at the bottom.
Rackable panels follow the slope without leaving big gaps underneath.
FenceTrac panels rack up to 30 degrees without hardware changes.
One rule stays the same on a slope: posts must remain vertical, even when the panels angle to follow the terrain.
Only the panels rack, not the posts.
For slopes steeper than 30 degrees, racking is not enough.
In that case, a stair-step layout, with level panels set at lower heights as the grade drops, is the fallback.
But there’s a catch.
It does leave gaps at the bottom of each step.
For a closer look at how that works on-site, see install on a slope.
Then choose infill that stays within height and visibility rules.
Choose privacy infill that fits height limits and design goals
Choose infill that fits local height limits, corner visibility rules, and HOA requirements.
Here’s how common lot constraints line up with specific FenceTrac setups:
| Lot Constraint | Recommended Configuration | Why It Works |
|---|---|---|
| Existing concrete or patio | Surface-mount base plates | No digging required |
| Sloped yard (under 30°) | Rackable panels | Follows grade |
| Steep slope (over 30°) | Stair-stepping with added infill | Handles grades beyond racking capacity |
| Corner sight triangle | 3–4 ft height or semi-privacy slats | Meets visibility rules |
For a full look at how infill options compare across privacy levels, materials, and HOA-friendly finishes, see FenceTrac privacy systems.
Conclusion: Complete the checklist before you price and order
This checklist helps you avoid permit delays, boundary fights, and last-minute layout changes before you spend a dollar.
The order matters.
Start with the property line, then check permit rules, get HOA approval, request utility locates, and confirm the site fit.
Use this final pass before you ask for pricing or schedule delivery.
Order too soon, and you may get hit with restocking fees and redraw costs.
Build without a permit, and fines can run from $100 to $1,000+.
Before you request a quote, confirm these items:
- Property line confirmed by survey and corner pins
- Permit and setback rules verified
- HOA written approval received
- Utility locates requested 2 to 3 business days before digging
- Installation method chosen: buried posts, surface-mount base plates, rackable panels, or stair-stepping
Once the site checks out, you can price the system that fits.
When the rules are settled, pick the FenceTrac setup that works for your lot.
Explore FenceTrac privacy systems, then request your quote.
FAQs
Do I need a survey for a new fence?
Yes, a property survey is highly recommended, and in many cases, it’s required.
It’s the most reliable way to confirm your legal boundary lines and make sure your fence doesn’t cross onto a neighbor’s property or break local setback rules.
Relying on old markers, landscaping, or a rough guess can cause disputes later.
And if the fence ends up in the wrong spot, moving it can cost a lot more than getting the survey done first.
Once your boundaries are confirmed, you can move forward with a lot more confidence.
How close can a fence be to the property line?
It comes down to your local zoning rules.
Some places let you build a fence right on the property line.
Others want a small setback, often 2 to 6 inches.
In many cases, putting the fence 2 to 6 inches inside your line is the safer move.
Why?
It can help you avoid neighbor disputes and make sure the fence stays fully on your property.
Always confirm the boundary with a professional survey.
If you have a corner lot, check for sight triangle rules too, since those are often stricter.
What if utility marks run through my fence line?
If your planned fence line crosses marked utility lines, change the layout. Never dig where utilities are marked.
You should also check for utility easements on your property.
Even if local rules say you can build a fence there, the utility company can remove it at any time without paying you for the loss.
The safest move is to keep your fence outside the easement.