
A FenceTrac install usually takes at least 2 to 3 days, not one afternoon.
If we had to boil it down, the job comes down to five parts: layout, posts, cure time, frame, and gates.
The biggest slowdowns are simple.
Bad layout.
Wrong post spacing.
Not enough concrete.
And trying to build on posts before the concrete has had 48 hours to set.
Here’s the short version:
- We need to mark the fence line first
- We need to call 811 before digging
- We need to space posts at 72-1/4 in. for 6-ft panels or 96-1/4 in. for 8-ft panels
- We need post holes that are often around 38 in. deep, based on code and soil
- We need a 3-in. gravel base and ready-mix concrete, often 4,000 psi
- We need to wait at least 48 hours before adding the steel frame
- We can rack panels on slopes up to 30 degrees
- We should hang the gate last, with about 2 to 4 in. of ground clearance
In other words, the hard part is not the steel frame.
It’s getting the posts in the right place, at the right depth, and staying patient while the concrete sets.
If our yard is flat, the soil is easy to dig, and we only have a simple gate, this can be a solid DIY job.
But if we’re dealing with rock, sharp slopes, long runs, or double gates, hiring out the post and gate work can save a lot of trouble.
| Step | What to expect | Key numbers |
|---|---|---|
| Layout | Mark lines, corners, and gates before opening the kit | 811 call, 6-ft and 8-ft panel planning |
| Posts | Dig, level, brace, and pour concrete | 72-1/4 in. or 96-1/4 in. spacing, about 38 in. deep |
| Cure | Wait before loading the posts | 48 hours minimum |
| Frame | Fasten side, top, and bottom channels | Screws 6 in. from ends, then every 12 in. |
| Infill and gate | Cut boards, fit panels, then hang gate | 30-degree rack limit, 2 to 4 in. gate clearance |
Bottom line: if we follow the install order and do not rush the post stage, the rest of the job gets much easier.

FenceTrac Privacy Fence Assembly Demonstration
sbb-itb-908b3eb
1. Plan the layout before you open the kit
Before you dig a single hole, check your property lines, fence height, setback rules, permits, and any HOA requirements.
Then call 811 so underground utilities can be marked.
Do that at least a few business days before you plan to dig.
And don’t start post holes until every line is marked and your fence route avoids them.
Once the fence line is legal and clear, mark the path on the ground.
Sketch the whole fence run on paper.
Mark the corners, gate spots, and anything in the way.
FenceTrac panels come in standard widths of 6 ft and 8 ft, with standard heights of 4 ft, 6 ft, and 8 ft.
Plan the layout around those panel widths and your gate openings before you dig.
Measure runs, corners, and gate openings
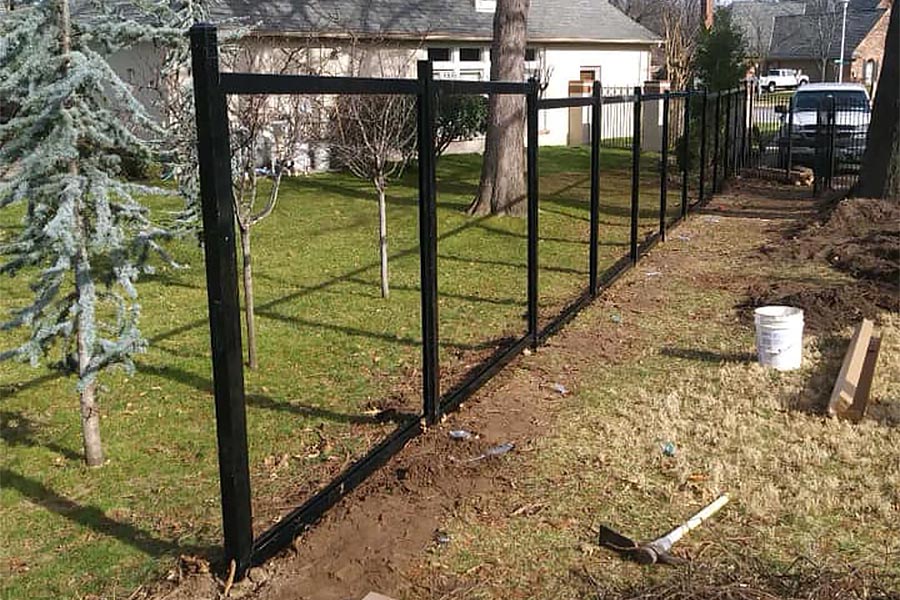
Use stakes, string, and a tape measure to mark the fence path on the ground.
Set the corner and end posts first to establish the fence line.
Then stretch a string line between them as your straight reference.
From there, mark the in-between post locations at even intervals.
For 6 ft panels, clear post spacing is 72-1/4 in.
For 8 ft panels, it’s 96-1/4 in.
A jig board helps you repeat those measurements fast without rechecking every span.
Gate openings need their own spacing.
Common single gate widths are 4 ft or 6 ft, and double gates are 8 ft or 12 ft.
Set the gate post locations before anything else.
If those posts are off, fixing them later usually means moving holes.
Once the stakes and string are in place, you can lay out the post holes with much less guesswork.
Plan for slope, transitions, and existing concrete
If your yard slopes, deal with that in the layout stage, not halfway through the install.
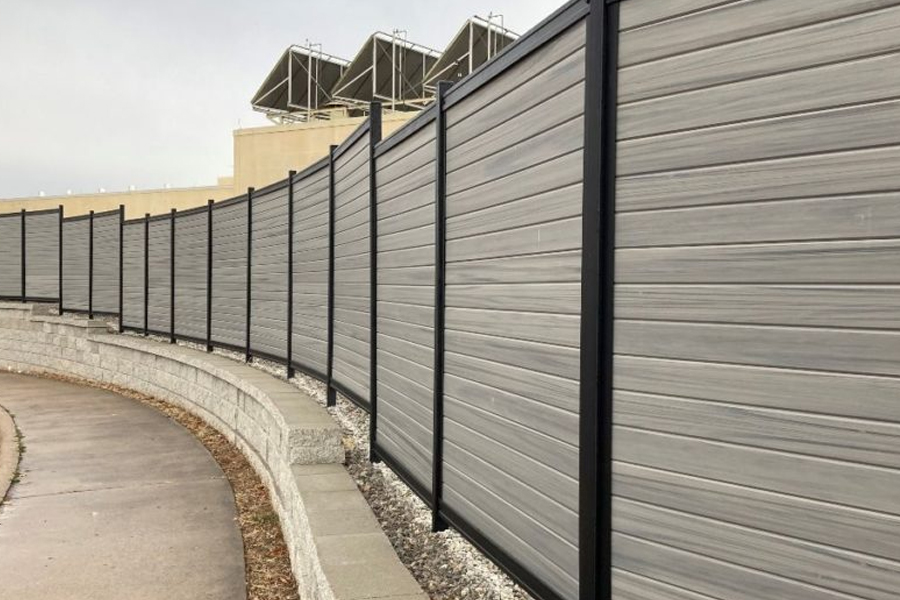
FenceTrac panels can rack up to 30 degrees to follow natural grade, while the posts stay plumb and the panel shifts with the slope.
If the grade is steeper than 30 degrees, you’ll need stair-stepping or terracing.
That choice affects post height, panel alignment, and how the finished fence will look.
On a downhill slope, posts may also need to go deeper so they still have enough embedment as the grade falls away.
If the fence crosses a driveway, patio, or slab, the posts need a different mounting method.
That means planning for surface-mount hardware, edge clearance, and concrete thickness for anchor bolts.
See how to install on existing concrete for the full method.
Those choices set your post height, spacing, and hardware before digging starts.
With the layout locked in, post placement goes a lot smoother and calls for fewer fixes later.
2. Have tools and materials ready before installation day
A FenceTrac install moves fast when the prep work is already done.
Stage every tool and material before you dig, so you’re not stopping halfway through the job to run out for supplies.
Tools that make the job easier
The main tools line up with the order of the install.
You’ll want a tape measure, string line, marking paint, post-hole digger or auger, shovel, digging bar, wheelbarrow or mixing tub, plus both a 2-ft or 4-ft level and a torpedo level.
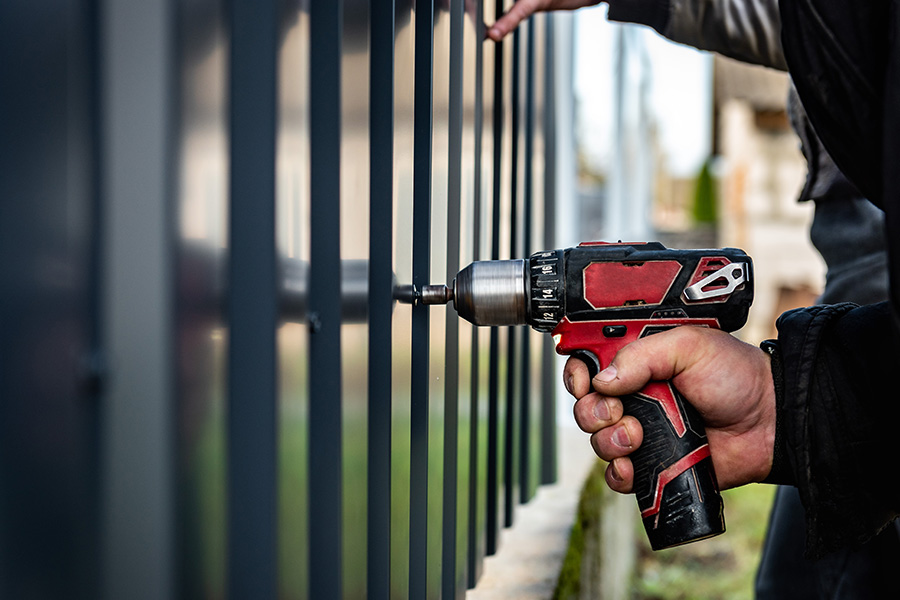
An impact driver or cordless drill with the correct bits is what you’ll use to drive the self-tapping screws that fasten the side channels to the posts.
Clamps also help a lot because they hold frame pieces in place while you fasten them.
For long runs or sloped sections, a laser level makes it much easier to keep post heights and frame lines consistent.
Use a miter saw or circular saw for wood and composite infill.
Metal infill needs the proper metal-cutting blade or tool.
Materials to buy locally
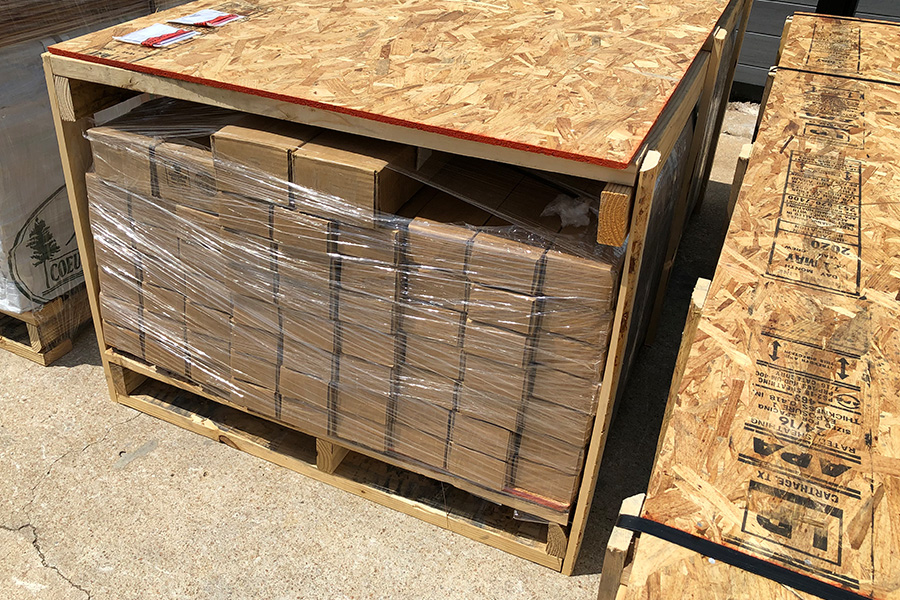
The FenceTrac kit includes the main fence parts, but you’ll still need to pick up a few items from a local hardware store.
Buy ready-mix concrete, preferably 4,000 psi, and pea gravel for a 3-in. drainage bed.
You’ll also need a steady water source near the work area.
Concrete volume is one of those things people often get wrong.
Hole diameter and depth decide how many bags each post will take.
Calculate the volume before you buy, and see how much concrete per post for a simple breakdown by hole size.
It’s also smart to buy a few extra bags, so a short pour doesn’t stop the project while the concrete is setting.
If you’re installing on an existing slab or patio, use anchor bolts and surface-mount base plates.
In that case, add a hammer drill with masonry bits to your tool list, and check install on existing concrete for setup details.
And don’t skip safety gear.
Work gloves, safety glasses, and sturdy footwear are required when you’re digging, mixing concrete, and cutting infill boards.
With your tools and materials staged ahead of time, the post-setting sequence moves faster and stays on line.
3. Follow the install sequence: layout, posts, frame, infill, then gates
With your tools ready, stick to this order: layout, posts, frame, infill, then gates.
It keeps the job clean and helps you avoid backtracking.
Set posts accurately and let concrete cure fully
Use the string line from your layout to mark each post location.
Then use a jig board, or a pipe cut to 72-1/4 in. for 6-ft panels or 96-1/4 in. for 8-ft panels, so every post lands at the right spacing between inside faces.
Each post needs to sit plumb in both directions, front-to-back and side-to-side.
Check plumb, pour the concrete, then check it again before the mix starts to set.
Typical holes are about 38 in. deep with at least a 6-in. footing, but local code can change that, especially based on soil and region. See how deep to set fence posts for depth details by area and soil type.
Gate posts do more work than line posts.
They carry weight and handle the repeated motion of a swinging gate, so they often need deeper holes and larger footings.
After the pour, wait at least 48 hours before mounting the frame.
Once the posts have cured, move on to the frame.
Attach the steel frame and keep runs straight on slopes
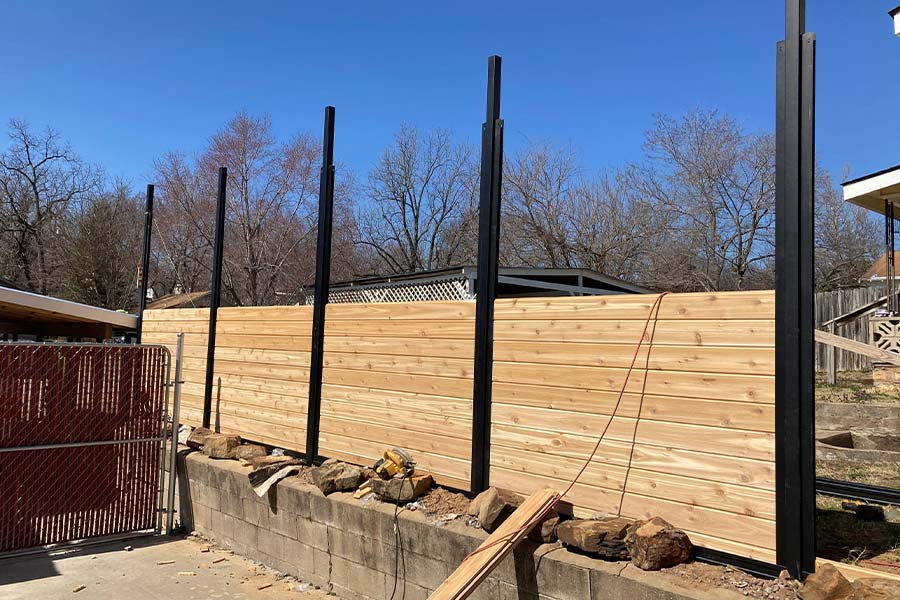
After the posts are stable, install the frame parts in the kit’s sequence.
Keep the side channels, bottom channel, and top channel lined up as you go.
FenceTrac’s side channels fasten to posts with self-tapping screws, so there’s no pre-drilling. Place them 6 in. from the top and bottom, then every 12 in. on center.
On sloped ground, FenceTrac panels can rack up to 30 degrees.
That means the side channels can angle with the grade while the posts stay plumb.
Check level and plumb often.
Also, sight down the run every 10 to 15 ft.
A laser level helps a lot here because it can spot small dips that a handheld level may miss over a longer stretch.
Add infill panels and finish with gate hardware
Once the frame is square, start filling each bay.
Measure the bay first, then cut infill boards to length if needed.
Leave a small gap so the boards have room to move and slide in more easily.
Slide the boards into the U-channel from the top and stack them in order.
The top and bottom boards may need minor on-site notching for carriage bolt clearance.
When the bay is full, bolt the top channel in place to close the frame.
Leave small gaps for movement, especially with cedar.
If you cut metal infill, use a metal blade and coat the cut edges.
Hang the gate last.
Attach the hinges to the gate frame first, then mount the gate to the gate post while supporting it at the right ground clearance, typically 2 to 4 in. This helps the gate clear the swing arc without dragging.
With the gate closed, set the latch so it catches cleanly without pushing the gate up or pulling it down.
Then cycle the gate several times and retighten the hardware.

4. Know when to DIY and when to hire help
Once you understand the install sequence, the next step is simple.
Figure out if your site is easy enough to handle on your own.
FenceTrac does make DIY installs easier. This is one of the main reasons homeowners choose FenceTrac for their property.
But the posts and footings are where jobs go right, or fall apart.
Conditions that make a DIY install workable
DIY tends to work best on a simple site.
We’re talking about sandy or loamy soil that you can dig without a jackhammer, a fence run that stays mostly straight, a mild slope that stays within the 30-degree racking limit, and one standard single gate.
You’ll also want the right crew.
In most cases, that means two or three adults who are comfortable with a tape measure, drill/driver, level, and post-hole digger.
The big thing to watch is layout complexity, not fence length.
A short, clean fence line is one kind of job.
A full perimeter with several corners and a larger double gate is a whole different animal.
When to call a contractor instead
Some site conditions push this out of DIY territory fast.
Rocky or heavily compacted soil, slopes over 30 degrees, long runs with several corners, retaining walls, and large or double gates are better left to a contractor.
Why?
Because digging 38-inch-deep holes in that kind of ground is slow, tough work, and it’s hard to keep every hole even.
Gate problems are often the first DIY mistake people notice.
If a post is a little out of line, or the footing isn’t deep enough, you’ll usually see it in a gate that sags or drags.
There’s also a middle-ground option.
If only one part of the project is hard, split the job.
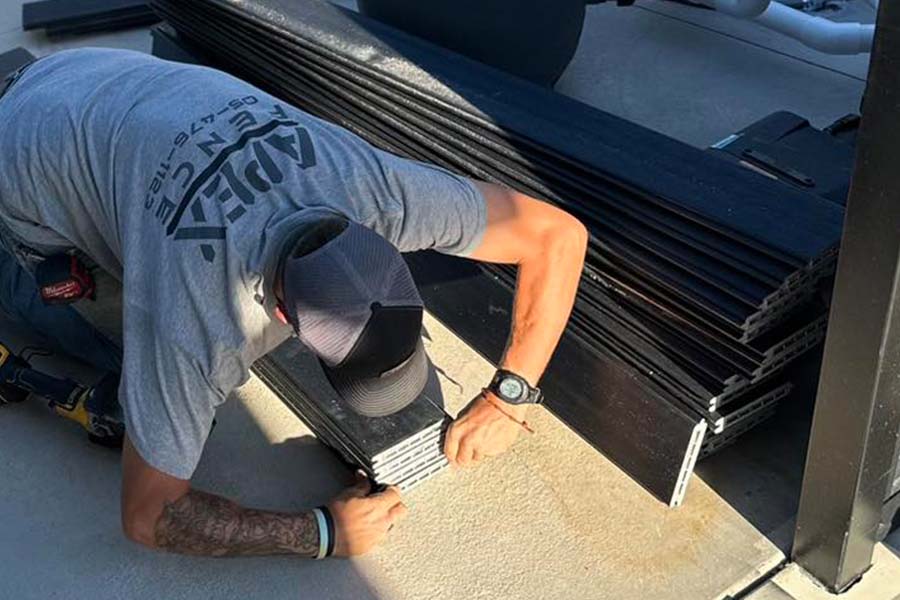
Hire help for the posts, footings, and gates, then do the frame and infill yourself.
If your site lands on the DIY side, go back to the install sequence and keep your post layout exact.
Conclusion: Follow the sequence and start with a solid plan
A good FenceTrac installation comes down to a few basics: accurate layout, the right post depth, enough concrete, proper cure time, and posts that are level and plumb.
Most problems happen when a step gets skipped or the concrete doesn’t get enough time to set.
Post spacing and concrete volume need to match the kit and the hole size, or the frame can become hard to install later.
Allow at least 48 hours for the concrete to cure before you put the weight of a full frame and infill on the posts.
If you rush that cure time, posts can drift out of plumb.
That’s why the order matters.
The modular system makes the assembly phase simple once the posts are set and cured.
After that, the frame and infill go together in sequence.
The best way to finish strong is to stick to the process.
Work in this order: layout, posts, cure, frame, infill, gates.
That order helps stop small errors from turning into bigger ones.
Start here: [Shop FenceTrac](https://www.fencetrac.com/buy-fencetrac/) to choose your style, height, and components, or use Price My Fence for an estimate.
FAQs
How many people do I need for installation?
A two-person crew is the sweet spot for installing a FenceTrac system.
That setup makes panel assembly and hanging much easier.
The modular, pre-cut parts also make the system approachable for homeowners who have basic tools and some post-setting experience.
But here’s the thing, a second person helps a lot when you need to position, level, and secure the frame and infill.
Can I install it myself in one weekend?
You can install a FenceTrac system yourself, but whether you finish in one weekend comes down to the size of the job and the concrete work.
The big thing is timing.
You need to give the concrete footings at least 48 hours to cure before you hang the panels.
So in most cases, the smoothest way to handle the job is in phases.
Set the posts first.
Then, after the concrete has set, assemble and hang the panels.
What part of the job usually causes delays?
The biggest slowdowns usually happen when you set the posts.
That means digging the holes, pouring the concrete, and then waiting for the footings to cure.
Concrete needs at least 48 hours before panels can be hung, so this step often takes the most time.
A simple way to cut delay is to have enough concrete on hand from the start.
It also helps to set posts in sections, so you can assemble one area while another cures.
Related Blog Posts
- Why Wood Fences Warp, Lean, and Sag and How the FenceTrac Steel Fence Frame Solves the Problem
- How to Prevent Fence Sagging and Leaning With a FenceTrac Steel Framed Fence
- Commercial Fence Systems That Meet Modern Architectural Design Standards
- How Much Does a FenceTrac Fence Cost? A 2026 Pricing Guide