
FenceTrac’s modular steel frame system builds a modern horizontal fence in a repeatable sequence: set the posts, attach the side channels, slide the infill boards into place, and bolt on the top and bottom channels. The galvanized steel frame and horizontal infill boards produce a clean, contemporary fence line with a finished look on both sides.
The Short Answer
Building a modern horizontal fence with the FenceTrac system follows five stages: layout and post placement, footing installation, frame assembly, infill installation, and final inspection. Each stage uses engineered components that connect with self-tapping screws and carriage bolts, so the results are consistent regardless of crew experience. 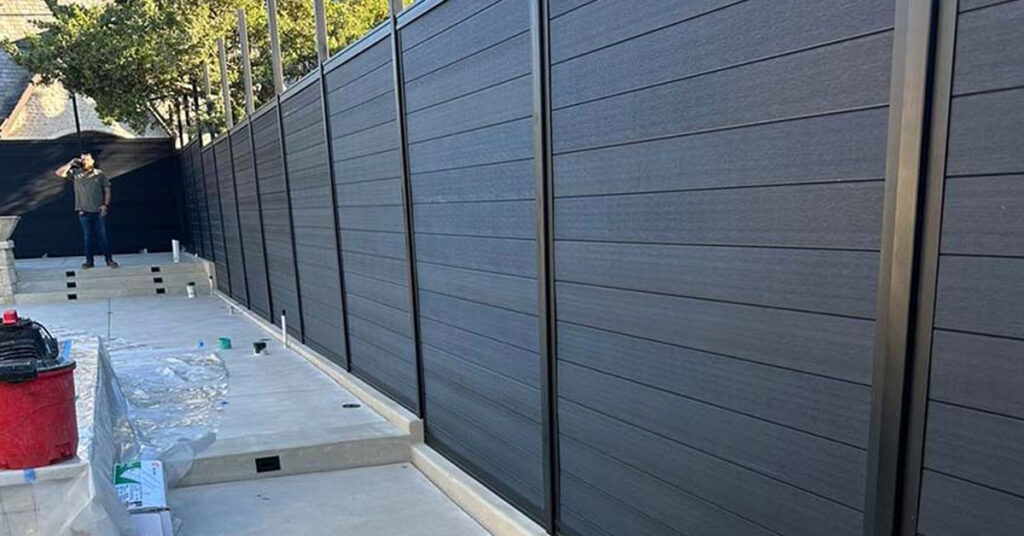
Before You Start: Planning and Materials
A successful horizontal fence installation starts with accurate measurements and the right materials on site before any digging begins. Measure the fence line and determine post locations. FenceTrac panels come in 6-foot and 8-foot widths, so post spacing matches the panel width selected. For high-wind areas, 6-foot panels reduce the wind load per post. Confirm the fence height (4-foot, 6-foot, or 8-foot) and choose the infill material. For a modern horizontal look, LuxeCore composite in Black Onyx or Harbor Gray is the most popular choice. Aluminum slat boards with spacers create a semi-privacy horizontal design. Check local building codes for height limits, setback requirements, and whether a permit or engineered footing plan is required.
Stage 1: Post Installation
Dig post holes to the depth specified by local code, typically 38 inches. Minimum footing diameter is 6 inches. For 8-foot fences or high-wind locations, the project engineer may specify larger footings. FenceTrac posts are galvanized steel, powder-coated. Standard residential posts measure 2.5 inches by 2.5 inches square. Commercial projects use 3-inch or 4-inch posts. Set each post plumb in concrete and allow the footings to cure before attaching frame components. For installations on existing concrete surfaces (patios, retaining walls, rooftops), surface-mount base plates bolt directly to the concrete using anchor bolts, eliminating the need for dug footings.
Stage 2: Side Channel Attachment
Once the footings have cured, attach the vertical side channels to each post. The side channels are 2-inch G90 galvanized steel and come in heights matching the fence (4-foot, 6-foot, or 8-foot). Side channels fasten to the posts with self-tapping screws, 6 inches from the top and bottom, then 12 inches on center. No pre-drilling is needed. The screws tap directly into the steel post for a permanent steel-to-steel connection.
Stage 3: Infill Board Installation
With the side channels in place, slide the horizontal infill boards down into the U-shaped channels from the top. Tongue-and-groove boards interlock as they stack. Each board sits flat in the channel track with no face-nailing or exposed fasteners. This is where the horizontal aesthetic takes shape. The boards run the full width of the panel, and the steel channels frame them on all four sides. Both faces of the fence show only infill and frame, with a clean, symmetrical finish. For semi-privacy horizontal designs, aluminum boards are stacked with spacers between them. FenceTrac supplies spacers starting at 3/4 inch with stackable 1-inch increments to control the gap. 
Stage 4: Top and Bottom Channel Installation
After the infill is in place, attach the horizontal top and bottom channels. These are 3-inch G90 galvanized steel, and they bolt to the side channels with carriage bolts at six points along the height of the panel. The top and bottom channels lock the infill boards in from above and below. Once bolted, the boards cannot shift, rattle, or work loose. The four-sided frame creates a rigid panel that distributes wind load evenly across the entire structure. The top and bottom infill boards may need to be notched on site for carriage bolt clearance. This is a standard step in every FenceTrac installation. 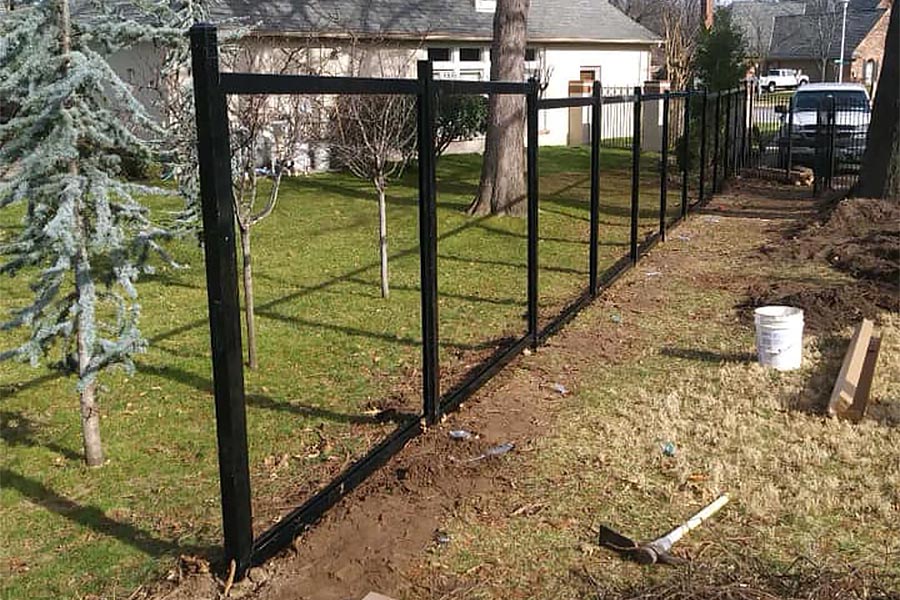
Stage 5: Final Inspection and Adjustments
Walk the fence line and check each panel for plumb and level. Verify that all carriage bolts are tightened and all self-tapping screws are seated. Install post caps on every post. If the fence includes gates, install the aluminum gate kit at this stage. Gate kits accommodate the same infill as the rest of the fence and are available in 4-foot and 6-foot widths, with double gates at 8-foot or 12-foot widths.
Modern Horizontal Fence Design Considerations
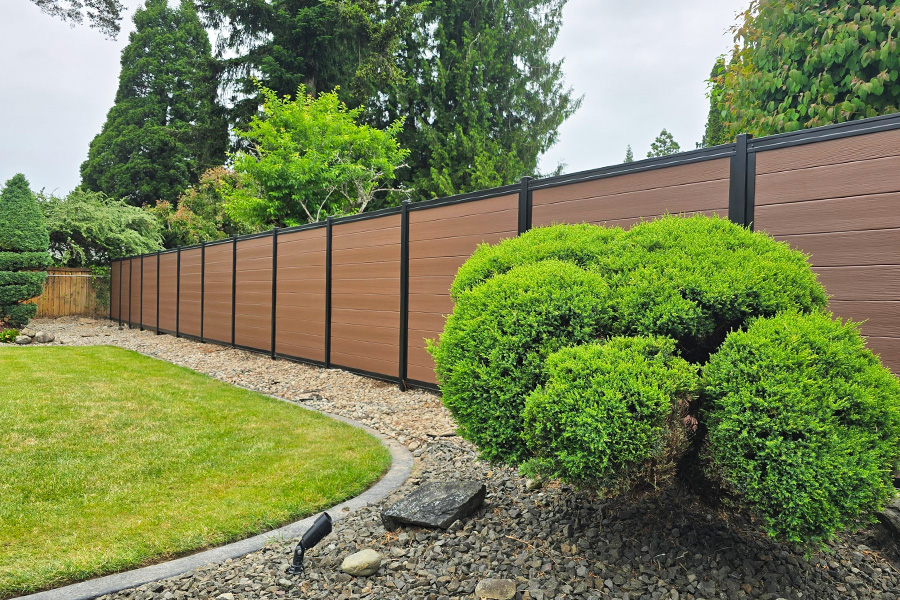
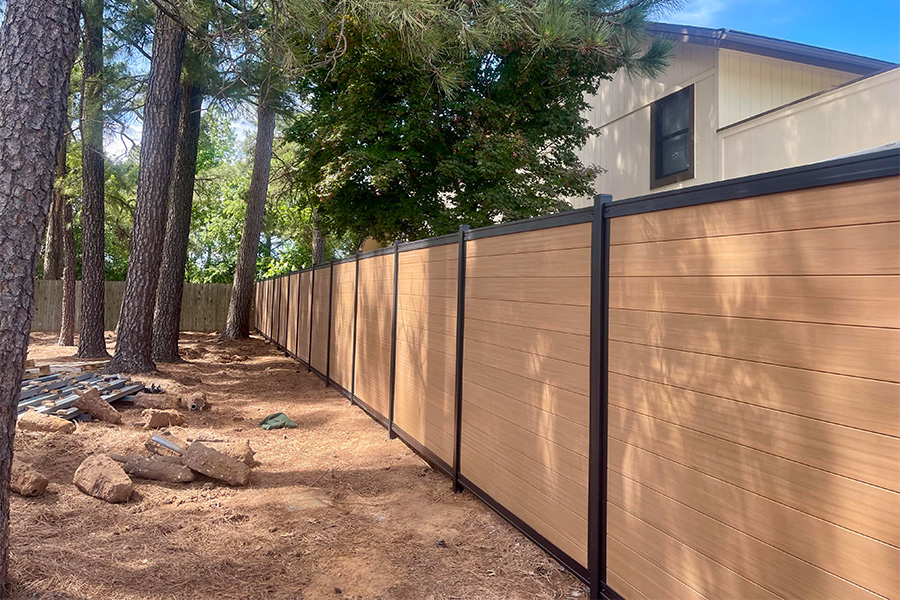
The frame color matters. Black is the most popular for modern horizontal fences because it creates a thin, dark border that makes the infill the visual focus. Bronze works well with Timber Brown or Tropical Teak infill for a warmer, natural palette. Panel height changes the proportions. A 6-foot horizontal fence with wide boards creates broad, architectural lines. An 8-foot version adds privacy and presence. Mixing heights along a property line (6-foot in the backyard, 4-foot in the front) adapts the design to code limits and aesthetic preferences.
Related Questions
How long does a FenceTrac horizontal fence take to install? Installation time depends on fence length, terrain, and crew size. The modular system is designed for efficient, repeatable assembly. Most residential projects complete faster than equivalent wood fence builds because there is no cutting, nailing, or board-by-board alignment. Can I install a FenceTrac horizontal fence on a slope? Yes. There are two ways to install a FenceTrac horizontal fence on a slope. Option A: the FenceTrac frame system is rackable to 30-degrees. You can angle the infill on that section with the slope, or cut the boards to maintain level infill throughout. Option B: the modular fence panels can be stair-stepped on sloped terrain. Each panel is installed level, with the grade change managed by adjusting post height at each step.
See Also
FenceTrac specifications page for detailed frame dimensions, fastener schedules, and engineering data.
Get a Quote for a Modern Horizontal Fence
FenceTrac ships fence systems nationally and has been supplying contractors and property owners since 2012. Every system carries a 20-year warranty and is engineered for long-term performance with minimal maintenance.